
Utopia Pickup Install and Upgrades to Ibanez RG Wiring (part 1)
The lower end of the Ibanez RG line are still pretty decent guitars in terms of build quality. The thrifty purchase price seems mostly owed to how crappy the included pickups are. But for many electric guitar players this is not a big issue since they will likely replace pickups to suit their needs anyway. Pickups are one of the most important aspects of electric instruments, so optimizing them makes sense on a lot of levels.
I was planning to pop in some StewMac overwound Golden Age humbuckers since I can usually get good, usable sounds from them with no fuss, and they are remarkably consistent from one build to the next.
For this RG Super Strat thing, I decided I’d try some Super Strat pickups. DiMarzio is probably the most popular marque in the Super Strat universe and they have a wide selection of outputs, sound profiles, etc. to choose from. With so many choices, I hemmed and hawed for a while about which set would give me the sounds I wanted, but also do things that my current go-to overwound Golden Ages could not, so I went with the Utopia HSH set.
Once I got a gleaming, golden pile of them, I set about removing everything from the guitar so that I could get the transplant done…

The patient is on the table, instruments ready for the operation.

Back in the day, I had a Floyd Rose on my main guitar, and the combo tool on the back of the headstock was an obvious choice. Some of them still exist on the market, so I grabbed one and installed it with the included acrylic adhesive tape square.

Putting that new tool to use. Unstrining is the first order of business so we can get the pickguard off…


#1 JIS (Japanese Industry Standard) screwdriver to remove all of the pickguard screws. Much better than chewing them up with a Phillips. Grab a set of JIS ones if you can. They’re great for appliances and automotive applications as well. They are easy to get nowadays from the ebays and amazons and such.

Before completely removing the pickguard, I sat with the instrument in playing position and used an awl to mark the locations for control pointers in a later step. I’m going to use some Luminlay numbered knurled knobs, so a pointer makes sense so as to indicate which position the pot/knob is in.

Removing the pickguard revealed a few things…
I know that shielding paint can be expensive, but an extra couple of grams of the stuff shouldn’t have wrecked the budget. No wonder this thing picked up so much outside noise and interference when I tested it.
They took grounding the sparsely-applied paint very seriously— It has a dedicated ground lead(!)
Aside from the paint, a skimpy silver-colored sticker (more on that later) is the sole means on the face of the instrument of keeping any electrical noise out— I will do much better than that… for mere pennies.
The wiring, Ibanez 5-way switch, pots, and the rest seem pretty neat and purposeful, so I’ll reuse as much of that as feasible.

Those 3 black and single white wire are all that’s holding the pickguard to the instrument, so I’ll desolder or unscrew as needed.

Once I desoldered the string ground and the hot/ground for the output jack, the shielding paint lug was all I had left.

And the whole thing is now free.

A snip to unbundle the factory wiring…

The factory 5-way is set up for some predetermined coil cutting. Pretty cool unit all-in-all. I’m only going to utilize the 5-way switching though. I have other plans for coil selection (via on-on-on toggles) that will give me access to sounds the factory switch cannot.

I pulled all of the old stuff, leaving the pots and switch bare; ready for the new stuff.


I then pulled out the old pickups.

The 5-way had some stacks of spacing washers on the back. Maybe to drop the pivot further from the slot for more travel? Whatever. I just made sure not to lose them.

Paralell jaw pliers are great for removing and installing switches and pots without scratching anything.
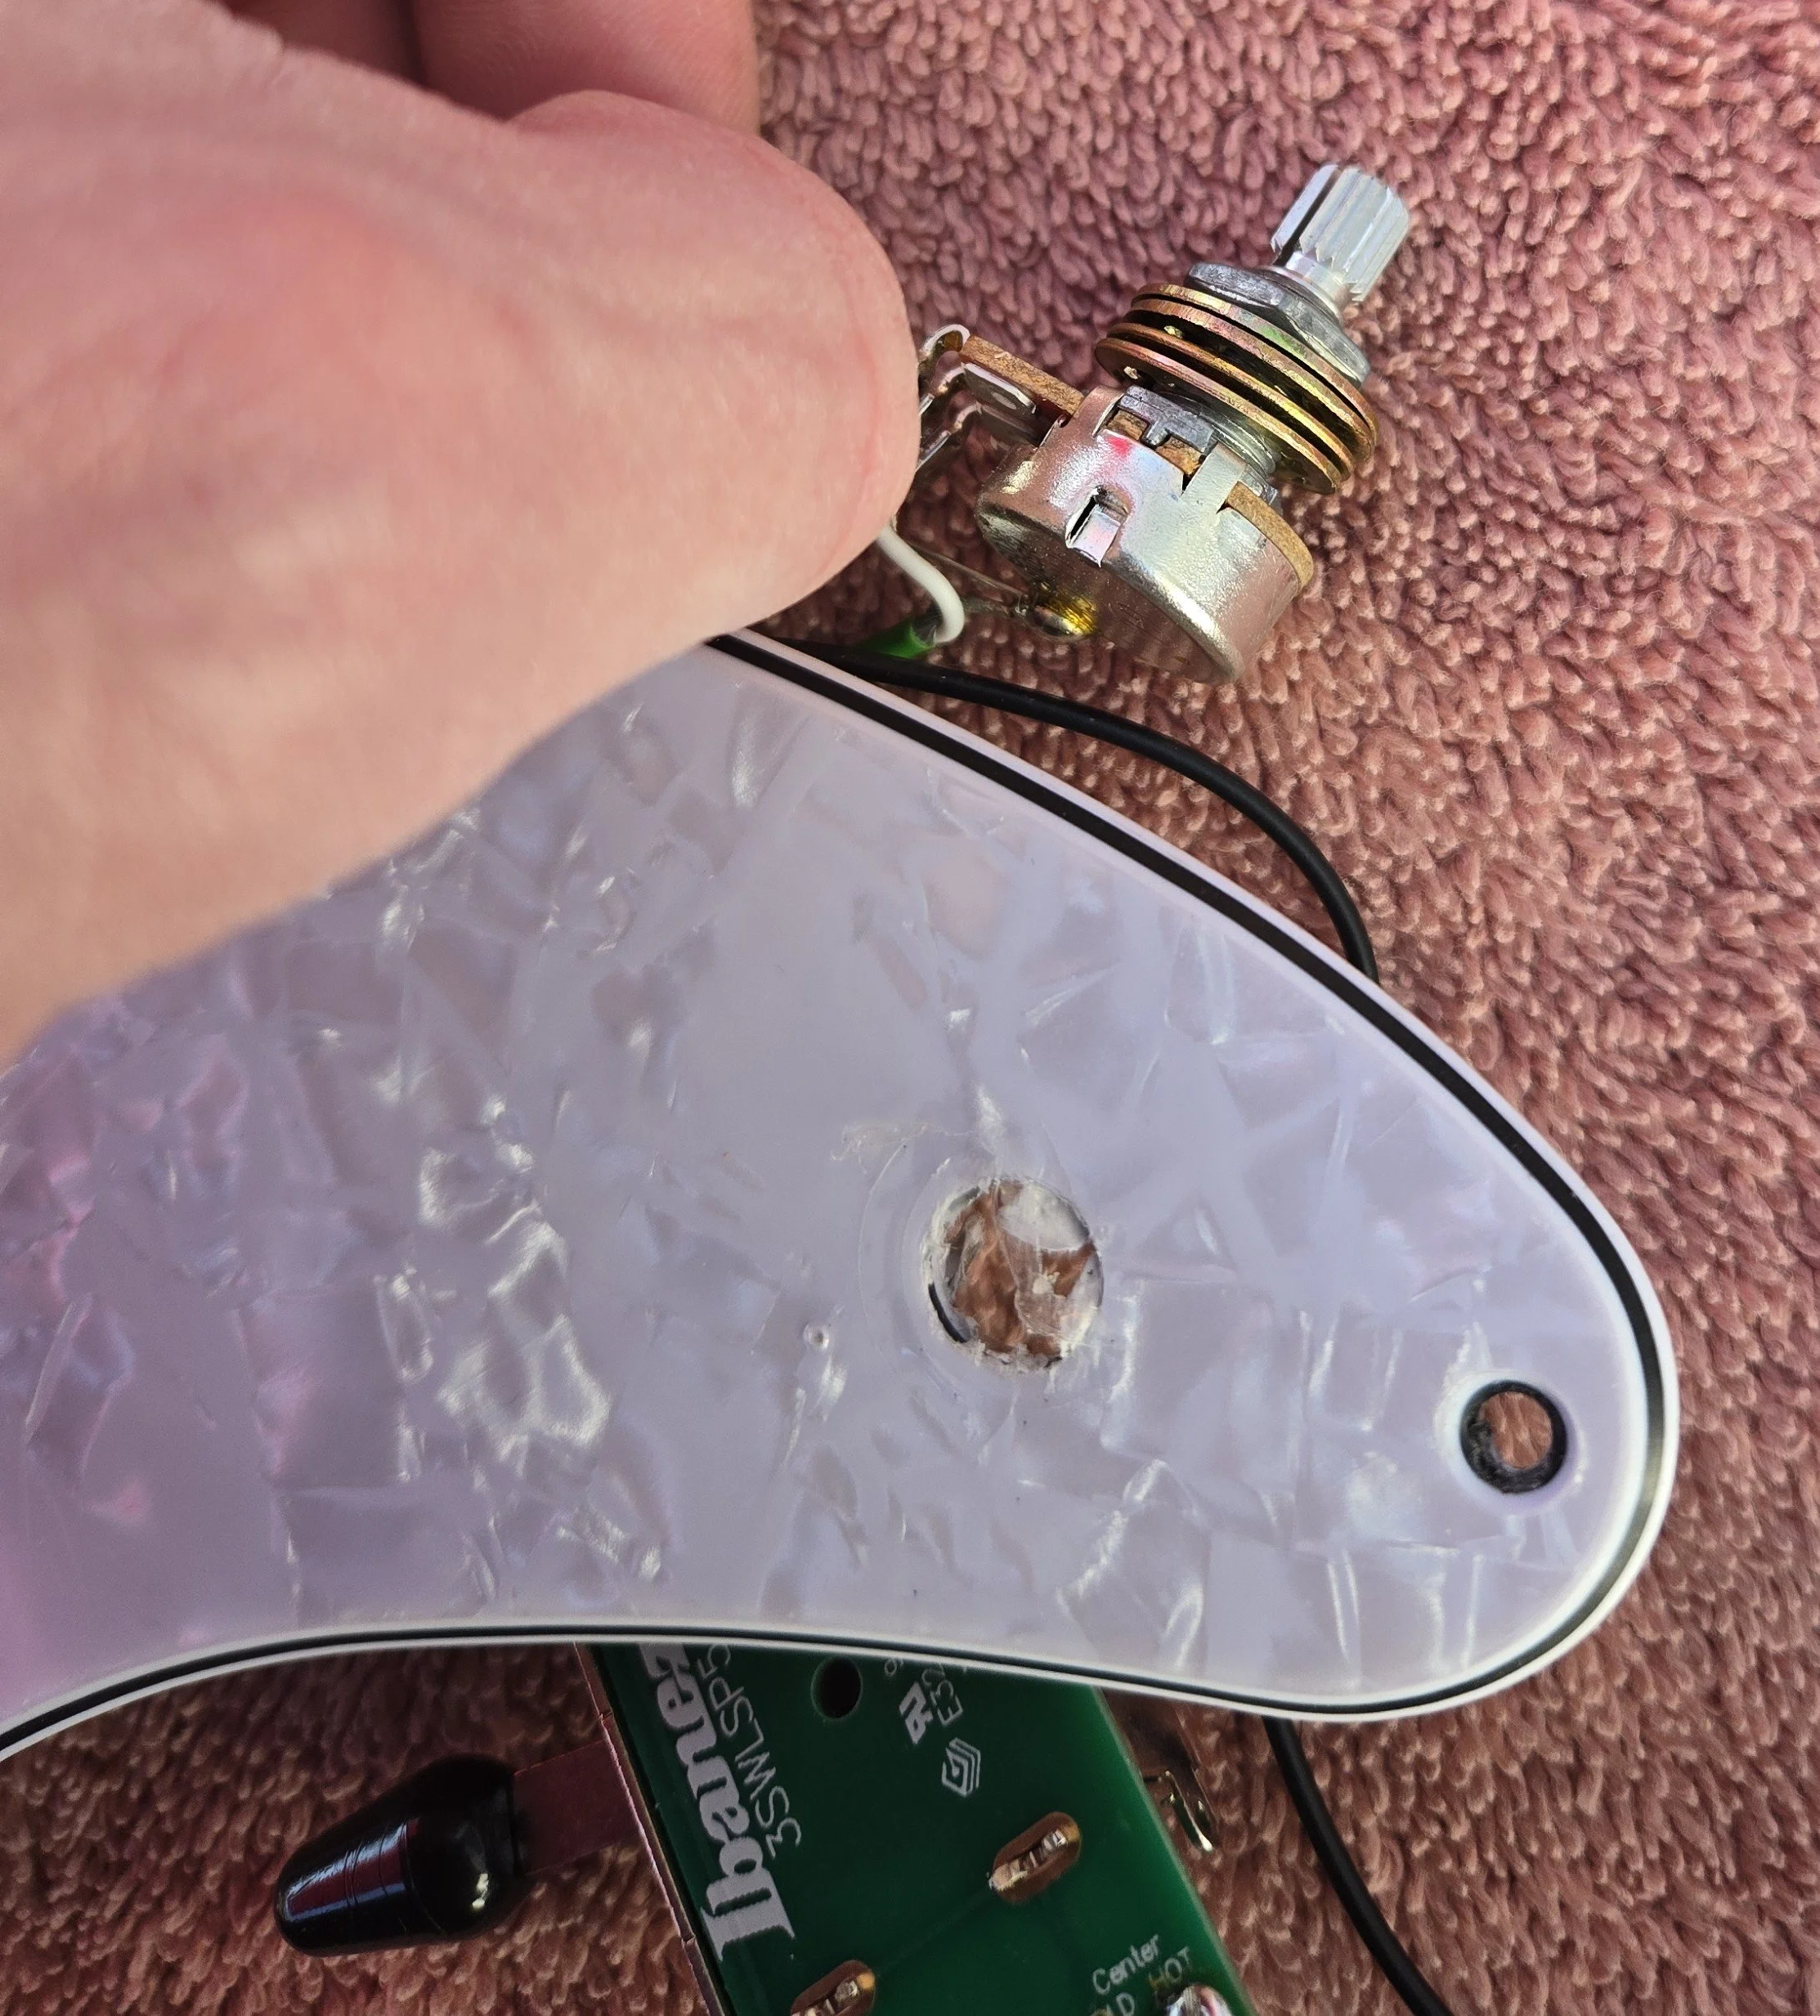
I removed all of the controls because I need a bare pickguard to properly deal with the shielding issues.

Let me just peel this rinky-dink sticker off of this and get to business… Umm… well...

Wow. For such a crappy, low-effort attempt at shielding, that adhesive is formidable. Some kind of aerospace formula used by accident? Did they think wind was going to peel this off the inside if the guitar was cruising at 200 kts.? Next time, less glue, more metal. Please.


Half an old razor blade worked pretty well once I got the angle just right.

I eventually resorted to alcohol-based hand sanitizer to help remove the majority of it. I have used this in the past with great success in removing magic marker and stickers. Since it’s a gel, you can let it sit and eat a while unlike pure isopropyl alcohol which flashes away comparatively quickly.

I got 99% of the crap off of the vinyl, so I’m finally ready for the next steps.

I get this stuff from Lidl for very little money. It’s actually copper, and it works perfectly.


4 strips total. They need to be electrically connected to one another; overlapping isn’t enough, but you’ll see later that’s a really simple problem to address. First, I’ll neaten-up the edges…

I place the edge of a box cutter blade along the seam to easily tear a neat edge


I used the razor knife to score along the edge freehand and then tore-away the excess for a nice edge.

Almost done. Just need to punch-out the holes.


I added solder in 2 strategic spots, joining the 4 pieces of tape into 1— electrically speaking.
As long as this layer is grounded (which it will be, in many ways), noise entering the cavity from the front will no longer be an issue.
That’s what all this trouble is about. Why install $500 worth of pickups and not properly shield for a few cents of paint and copper tape so the new pickups are all that you hear? There are some tales and legends out there about too much shielding attenuating highs or some such, but I have yet to find a down-side to thoroughly, properly shielding any passive electronics— I only notice how quiet they become.

Drilling out the two pointer holes I marked earlier…

I sanded the end of the Luminlay stick flat and then put a few drops of superglue on the edges of the tip. I then pushed it in from the back to sit flush with the pickguard face.

You can see there’s still plastic film (3 layers!) on the front. I’ll leave that there until I’m done.
More to come in Part 2…