
Making a rack enclosure for the UB-Xa D and BARP 2600

Monophonic analog synths can be incredible instruments, and for many decades since their introduction they continue to find a role in just about every form of music— even if only as a sampled sound. Polyphonic analog synths were introduced much later and with the subsequent fast adoption of FM and digital-based sound generation technologies, analog polysynths only stayed relevant in music for less than a decade. Their short lives in a competitive, nascent market meant they varied greatly from one make to the next in terms of sound, playability, and features, and to my ears, the Oberheim polyphonic synths seemed to be used in the most interesting ways by the artists that featured them in their music.
I greatly enjoy playing piano and I tend to think in the abstract realms of harmonies and chords, so a polyphonic synth seemed like a great addition to my studio, and an Oberheim of some variety was something I always wished to have.
The virtual models out there (free and paid) are all pretty good, but none of them seem to really nail the presence of a real analog synthesizer. But out of necessity, I made due with VSTs.
Then I heard a rumor years ago that Behringer was planning an OBX clone and I knew I’d have to get one if it ever came to fruition.
I pre-ordered mine just a few days after they were made available for pre-order and got in just a bit too late for the D (desktop) version of the UB-Xa. I had no room for the full keyboard version, so I waited another 6 months to get my desktop model finally delivered.
After I got it, I patched it on and played via keyboard and guitar synth and was immediately glad to have gotten the UB-Xa D. It had the sound I wanted, and the controls (so much better than using a mouse/etc.) were as intuitive and sensible as I had hoped for in terms of tweaking and exploring different sounds.
Having it sitting on a chair was less than ideal, so I knew I needed to build a safer, more permanent home for it.
My BARP 2600 (see build article here) was another 19-inch device, and I had some short rack rails sitting in my pile of stuff I got years ago for other projects, but never ended up using, so I started to form a plan.
I needed to know just what the UB-Xa D dimensions were in order to figure out if what I was beginning to ponder was feasible.
The desktop edition came with wooden cheeks pre-installed and also a pair of rack ears (and shorter screws). I had decided to use rack mounting and first needed to swap out the side panels…

5 screws in each side…


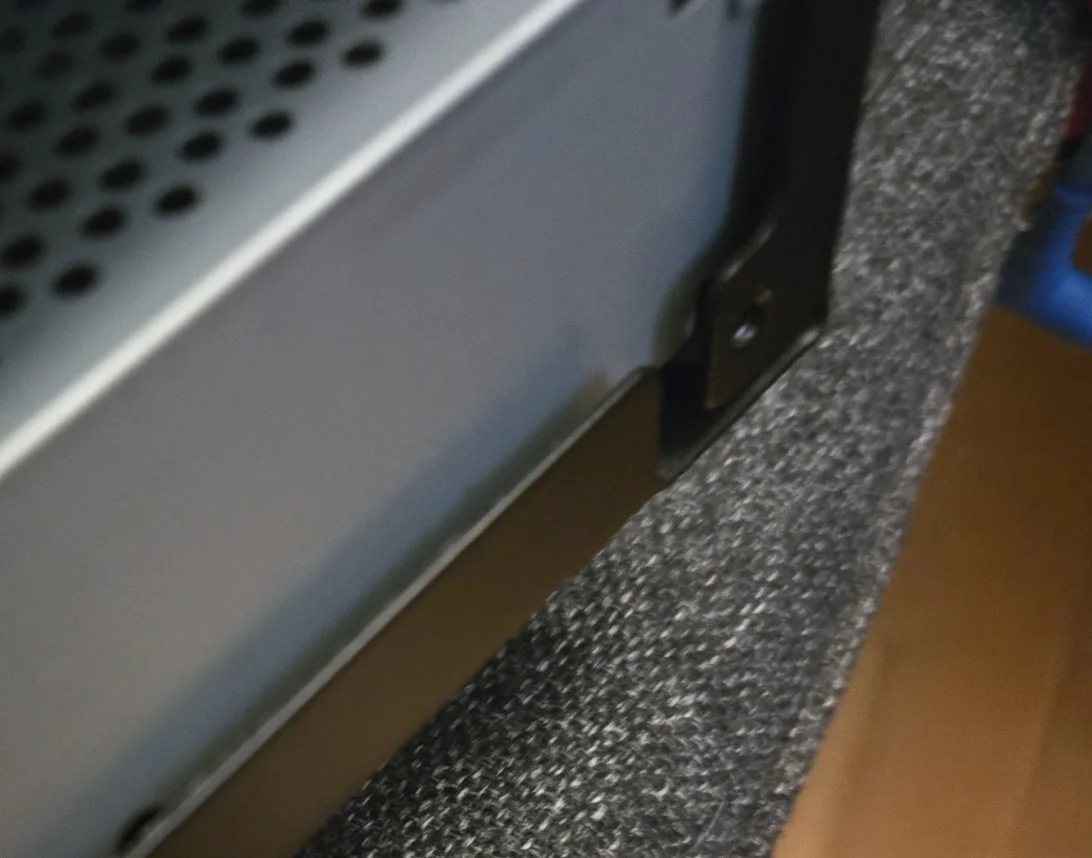
It came with shorter screws for a good reason. Not much space between the threaded tab and that power supply…

Both sides swapped. Now it’s time to break out the tape measure and quantify what we’re dealing with.


Exactly 19” (482.5 mm) wide as expected.

8 3/4” (220.5 mm) tall.

The tallest part of the wedge profile is about 4 3/16” (106 mm).

The shortest part of the wedge is about 2 1/16” (51.25 mm)

I’m not a fan of this new CAD program, but it got the job done and let me make sure everything was going to fit with reasonable certainty. The vertical face on top will be for the BARP 2600, the angled face below will be for the UB-Xa D. I added 3U rack spaces at the bottom for other gear if desired.

With those dimensions in mind, I created a drawing and cardboard template to test real world fit and spacing. Once convinced I was close enough to correct, I got the tools and material 3/4” plywood (fUrnIturE GrAde, lol) ready and set to work turning the drawing into something real.


I did all of the layout lines, double checked them against the drawing and template, and then put parallel lines inboard of the outside edge to use as clamp alignment for the saw guide. If I did everything correctly, there should be just 4 easy follow-the-straight-edge-with-the-saw cuts. Two of those cuts (for the inside corner) needed to stop short since the circular blade will overcut the top in order to completely cut through the bottom. You can see those stop marks here where the red arrows are.

I finished the inside corner with my Japanese razor saw. You can see why the stop marks on the top were important if it wasn’t obvious before.

The layout work seems to have paid off. I now have two identical sides (still sandwiched together) cut to shape.

I used a belt sander (120 grit) and a palm sander (220 grit) to get the edges neat and level.

Before separating the sides, I put my rack rails on the outside of the sandwich and got an overall width so I could best calculate the spacing between the inside faces for the absolute smallest 19-inch rack width possible— I have very limited space in which this thing will live.

Time to separate the sides.

The back and bottom are just simple rectangles. I did a quick test to see if I messed up any dimensions or made any un-square cuts. Layout, measurement, and double checking paid off yet again.

I had already marked and drilled the pilot holes for my clamping screws, so it was time to glue and screw the thing together.

Once clamped by the screws, I quickly wiped away squeeze-out with a damp rag. I’ve read that this not only helps with the finishing stages, but the action of wiping away and pulling the glue from the outside of the joint makes the glue bond inside stronger. The former is definitely true in my experience, and the latter may also be as well. Strength really isn’t paramount in this device, so we shouldn’t be testing that part of it anyway.

With the frame glued, clamped, and drying, I shifted to the rack rails. The front of this isn’t a straight vertical line, so I knew I had to cut the 48” rails I had into sections.

I marked it, cut it with a cutoff disc, and then smoothed the cut edges with a flapper disc.

Some of the pieces needed an angle cut to fit with the pieces below them. I marked it and sliced away…

And each side will be sectioned like so…

A rough fit-up to make sure nothing is alarmingly crowded or close.

I’m still not sure about the conflict (which I expected, just didn’t know how negotiable it might be until built) between the bottom of the UB-Xa D and the top of that mixer. One had to go down, or the other had to go up. I decided the mixer could go down and I’d add a blank panel for forward-facing jack extensions for the mixer or something later.

I fitted and mounted the rail sections by installing 10-32 screws in them as uniform stand-offs from the faces. I screwed them into the sides and then hung a few of the components to make extra-sure this whole thing would work.

Access in the back looks great.

Plenty of room for patching and ventilation.

And there’s at least an inch (25 mm) behind the fattest part of the BARP 2600 wedge, so pretty much exactly how I hoped it would be.

Lower down, there’s more than double the clearance (2.25”, 60 mm), which is good since the power cubes and other stuff will be mounted there.

This thing weighs way more than I expected with everything mounted. There’s a lot of metal there between the three devices and those rails.
So, with the fit now confirmed, it’s time to focus on finish. The wood will be the same as I usually do— water-based polyurethane. The rails will get something a bit more chemically adventurous.

Everything fits fine. Now onto the finishing steps.
The bottom sections had only one predrilled mounting hole, so I measured, scribed, and added another to each one.


Now the fun part.
I always choose to ‘blue’ steel whenever I have an unfinished edge or part. In my experience, cold bluing is durable compared to most paints— it doesn’t chip or flake away— but it can be scratched by other metals. Many homemade/shop-made tools and prototype parts get cold blued because it’s an easy and effective process to protect the metal’s surface from flash corrosion.
Hot bluing is way better, makes a thicker coating, but it involves much more hazardous and difficult chemicals and processes, so cold bluing is about as serious as I want to get for the stuff I make.
With cold blue, the (selenic?) acid etches into the steel’s surface and that reaction leaves behind a hard (harder than paint), black copper-selenium (CuSe I think) compound that’s molecularly bonded to the metal. The surface formed by that compound is very good at holding a film of oil too, so there are a lot of things with this this treatment that simply do not happen with mere paint on steel.

Use it as directed of course.
I am outdoors, wearing nitrile gloves, and I’m dispensing it onto a disposable paper plate so as not to contaminate the contents of the botte by re-dipping a swab into it.
You should clean and finish all of the surfaces to be blued by fine sanding/steel wool followed by acetone to remove any grease.
I, however, did zero prep since this wasn’t going to be practically invisible once mounted. The 120 -grit flapper disc the previous afternoon was going to have to suffice.
And it did.

Raw steel…

Swab a little on and the reaction happens right before your eyes…

I added a little stripe to the bottom to try to capture in a photo how fun and fascinating this transformation can be.

Untreated and treated. Much more fun than paint.
The better the finish you put on the metal, the better the result. I pretty much only removed major burrs from the metal on these because only a small portion of the cut area will be visible or touchable.


Balliistol is great stuff. I think it’s basically Alpine herbs and mineral oil, and it smells equally bad and good (not sure how this is possible, but here we are). It mixes with water, and it coats and protects like oil for both metal and wood. It inhibits corrosion and seems to neutralize acids. Really weird, amazing stuff.
I’m using it here to make sure the bluing reaction stops and that the coating absorbs some oil for lasting protection.

Sometimes it smells like mildew, sometimes it smells like black licorice, sometimes it smells like an infection. It’s a mystery that’s been with mankind since 1904 (so says the can at least.) Also, I’m pretty certain it doesn’t ever expire.

The glue had a day to cure by now. Time to remove the screws…

The screw holes center the bit for the dowel hole drilling in the next step.

I use a jig and a very square scrap of plywood to keep the holes plumb.


Gotta get all of the sawdust out of there to make sure the dowel goes in as far as possible.


Titebond wood glue and dowels will lock this together for a long time.

Sending it home with a plastic mallet.

I use a damp rag to wipe away the excess glue.

Then the Japanese razor saw cuts them clean and flush in single pull.

Two more done, four left…

Nice and solid with the eight dowels in addition to all of the seam gluing.


I marked the cutout for the power block.

I used an oscillating saw to cut it out. Better than a jigsaw, but not by much to be honest.

The power block slips in easily enough.

180 grit block sanding to get everything flat. Always sand in the direction of the grain for the best results.
This is especially important where those dowels are since they’re end grain wood and will create little mounds around them if you skip this step and go straight to an oscillating sander.
The block sanding gets everything really flat, really easily.


I ran over the whole surface with 220 and then 320 with a palm sander to get it ultra-flat and silky smooth to the touch.

Here’s the first coat of finish. I’ll let it set up overnight and then sand it smooth tomorrow before the final coats go on.

After a pass with 400-grit and the palm sander, you can see the light stripes of grain raised by the water-based finish soaking in.


After two passes of 600-grit with the palm sander, I blew all of the dust away and then went over the surfaces with a tack cloth.
I then laid three thin coats of the all-in-one stain/finish (Behr water-based poly “Bombay Mahogany” I had left over from the other builds featured in this blog) and let them dry for about two hours before handling.


I have lined the bottoms of things like this with felt in the past, and it has worked out really well for me, so I’m going to do the same for this.

I cut them along the edge with a razor knife for a custom fit.

A power block and a barrier strip will make this so I can use a single switch on the rear to control the power for all of the components in the cabinet.

Here the first rail section is mounted. I used #10 wood screws with black washers for a polished, all-black-hardware look.

The other sections went right into place. The bluing is good enough that no one will notice or think about it. Mission accomplished there.

The rails on the other side are mounted and the UB-Xa is settling into its new home…

The Behringer RX-1602 stereo mixer is added…

Very easy access for interconnections later.
I’m glad I chose the 3U bottom layout. Lots of versatility.
Now it’s time to cut those power cables and get them landed on the barrier strip.

I used heat shrink tubing to neaten-up the ends of the power cables and decided to use colors to differentiate them. Probably overkill considering tracing those cables isn’t even needed with these short distances. It looks spiffy at least.

Since nothing in this should draw more than a few amps, I decided to double-up on the output connections to make expansion/addition easier. The top of that barrier strip is jumped with 14 ga. THHN. Tougher than the switch and its fuse. Current won’t be an issue for these downstream loads.

Cable tie mounting blocks and cable ties get all of the cubes and stuff snug and out of the way.

That’s everything installed. I just need to drop the BARP 2600 into its new spot…

… and then power it up— and done!

My old BARP 2600 stand? It’s sitting in my garage, waiting for me to decide what to do with it.
I’m very happy to have the 2600 and the UB-Xa both at-the-ready, and this specific piece of custom cabinetry did exactly what I’d hoped it would. Under that Behringer mixer I have like 1 1/2 Units of space where I have a 4-way MIDI merge, Kenton USB MIDI host, and a S/PDIF audio interface that takes the mixer output and sends it into my studio audio interface via coax.
As I mentioned, that blank above the mixer is a great place to add front-facing input extensions for a few of the stereo channel inputs, so I’ll probably do that next. It will make it easy for me to take any external gear (like my PolyD) and just plug into the mixer to send into the studio interface as needed. The RX-1602 mixer itself and the S/PDIF are surprisingly quiet, so it’s not like that type of connectivity will affect sound quality in a meaningful way.
Please note: I’m not a carpenter, electrician (well, actually, technically I was an electrician long, long ago), furniture-maker, etc. If this is what someone of my limited skills and knowledge can struggle to build, then anybody can make something far better, simpler, stronger, more attractive, cheaper, and with less effort. This means you.
Don’t just wish for things to exist— Make things exist!